There are many advantages to becoming a Paytm seller. Thanks to Paytm’s broad user base, you can benefit from a vast and diverse customer base. The platform offers easy, user-configurable tools for listing products, managing inventories and fulfilling orders efficiently. Paytm’s secure payment terminal allows various payment methods, enhancing customer convenience.
Visibility of the product can be enhanced by marketing and promotion opportunities, as well as a comprehensive seller’s dashboard that provides insights to help make informed choices. Paytm could also offer logistics support and leverage its reputation to strengthen customers’ confidence. The benefits of becoming a Paytm seller extend to competition fees, the focus on mobile commerce and customer support.
In a short period, owing to Paytm’s growing popularity in India, it looks as if eCommerce giants like Flipkart, Snapdeal, Amazon and others will continue to lag. Paytm has been connecting thousands of independent merchants to the Indian market till now. In July 2015, PayTM committed around 640 billion Indian rupees to help merchants throughout India so they could get their businesses online.
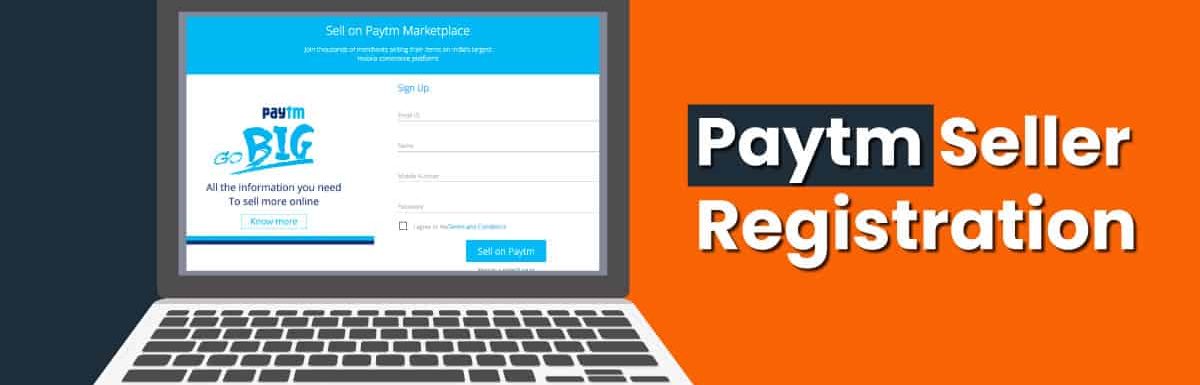
This simple and detailed guide will walk you through creating a seller account on the Paytm marketplace in four easy steps. Every step in the reading of these instructions needs to be taken with great care:
1. Keep mandatory documents ready
You will need to familiarise yourself with some relevant documents to start registering as a seller on Paytm and any other online marketplace, which is mandatory for this purpose. It’s an effortless thing to understand. A list of the documents Paytm has requested for each potential seller shall be given below:
- PAN
- VAT/TIN
- A cancelled Cheque
- Address proof such as Adhar Card, Passport, Electricity or Gas bill etc
2. Paytm seller registration
Click on the Paytm seller registration page and, using the following information in the appropriate fields, set up an account once you have each or every one of the documents listed below:
- Your name
- Your mail address
- Mobile number
- Set an account password
3. Hit the Signup button
All your details must be checked and rechecked when creating a seller account on PayTm. You should be prompted to sign in as soon as you’ve finished reading your information.
4. Sign in to your mail
Click on the verification link sent to you by Paytm, then open your email app. To confirm your email address is correct, click the verification link.
5. Wait for sometime
Things will take some time to work out; you must be patient. You’ll be contacted and given more information as soon as the Paytm seller support team has evaluated your sales request and agreed to accept it.
6. Upload your documents
Once you can access your seller dashboard, you should upload and validate your documentation catalogue and establish your selling pricing on each product you intend to offer on the Paytm site as soon as possible.